Quick Start
Track your first object in under 5 minutes — no camera or physical object required. This guide uses a pre-recorded sample sequence so you can evaluate XRTracker immediately after installation.
Try the Sample Scene
1. Download the Sample Package
Download the sample .unitypackage containing a 3D model and a recorded image sequence:
Import it via Assets > Import Package > Custom Package. The package extracts to:
Assets/XRTracker/Samples/SampleObject.fbx— the 3D modelAssets/StreamingAssets/SampleSequence/— the recorded image sequence withsequence.json
2. Create the Tracker Manager
- Create an empty GameObject and name it
Tracker - Add the XRTrackerManager component
- Set Image Source to
Sequence - Set Sequence Directory to
SampleSequence(the folder name inside StreamingAssets) - Assign your Main Camera to the Camera field
![]()
3. Add the Sample Object
- Drag
SampleObject.fbxinto the scene - Add the TrackedBody component to the GameObject
- The Mesh Filters field auto-populates from the GameObject and its children
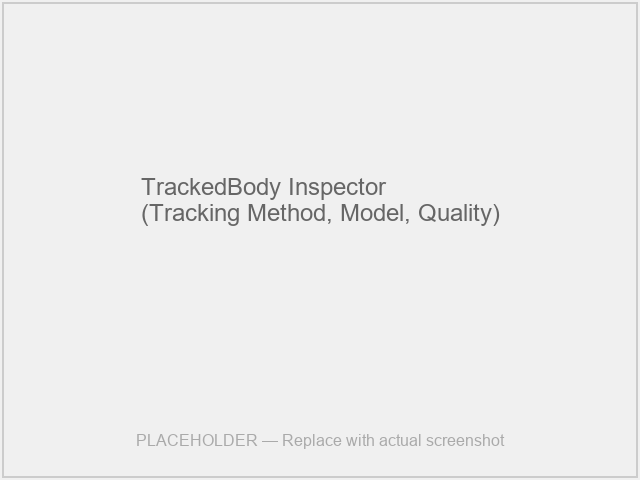
4. Generate the Tracking Model
- In the TrackedBody inspector, find the Model section
- Click Generate Silhouette Model
- Wait for generation to complete (typically 5–30 seconds)
A green checkmark indicates the model is ready.

Tip
If you switch to edge tracking, you can skip model generation — edge tracking works directly from the mesh geometry.
5. Position the Object
Place the 3D model in the scene at roughly the position it appears in the recorded sequence. This gives the tracker an initial pose estimate.
Tip
The initial position doesn't need to be exact — the tracker will refine it during detection. But closer is better for faster lock-on.
6. Press Play
Enter Play Mode. The recorded sequence plays back automatically and the tracker detects and tracks the object through the frames.
The GameObject's transform updates in real-time to match the object's pose. Any child objects (augmentations) follow automatically.
Track with Your Own Camera
Once you've seen tracking work on the sample, try it with a live camera and your own object:
- Set Image Source to
Nativeon the XRTrackerManager - Import a 3D model of your real object (correct scale in meters is critical)
- Add a TrackedBody component, generate the silhouette model
- Position the model in front of the camera to match the real object's approximate location
- Press Play and point the camera at the object
See Camera Sources for details on camera setup and calibration.
What's Happening
- Detection — XRTracker renders the model from the initial viewpoint and looks for a match in the camera image
- Starting — Once detected, the tracker refines the pose over several frames to confirm a good lock
- Tracking — Continuous frame-by-frame pose optimization keeps the model aligned with the real object
The Tracking Quality indicator in the inspector shows how well the tracker is locked on (0.0 = lost, 1.0 = perfect).
Next Steps
- Tracking Overview — Understand the different tracking methods
- Model Preparation — Optimize your 3D models for better tracking
- Quality Metrics — Tune detection and tracking thresholds
- AR Foundation Guide — Set up mobile AR tracking on iOS/Android